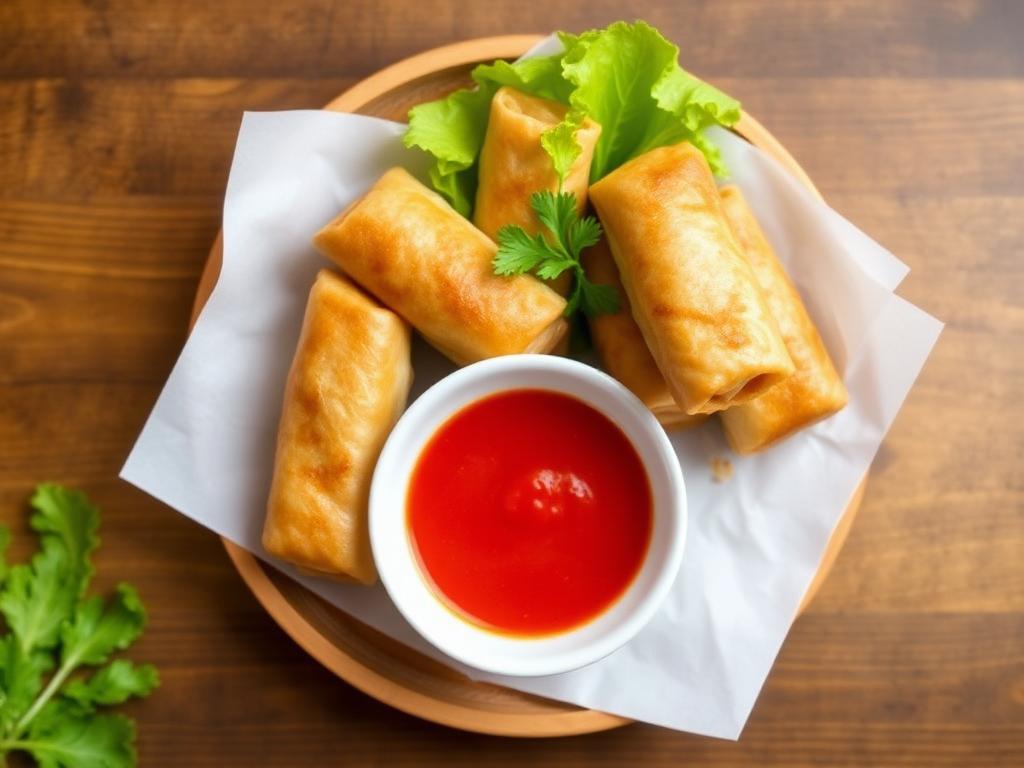
My Secret to Perfect Vegetable Spring Rolls (No More Soggy Rolls!)
Okay, confession time: I used to burn at least three vegetable spring rolls every single time I tried making them. But after years of trial-and-error (and eating my “experiments”), I’ve finally cracked the code to crispy-on-the-outside, juicy-on-the-inside veg spring rolls that won’t fall apart mid-bite!
This recipe? It’s what I make when friends randomly show up, when I need comfort food, or when I just want something that tastes like celebration. And guess what? You probably have most ingredients in your fridge already!
Gathering Your Vegetable Spring Rolls Arsenal
Pro tip: Chop everything roughly the same size so they cook evenly. Nobody wants a giant chunk of carrot escaping their roll!
The Filling (Where the Magic Happens):
- 1 cup cabbage (shredded, but not too fine)
- ½ cup carrots (grated works, but julienne is better)
- ¼ cup capsicum (red looks prettier, but green works too!)
- 2 tbsp spring onions (the green parts make it pop!)
- 1 tsp soy sauce (or tamari for gluten-free)
- ½ tsp vinegar (apple cider gives nice flavor)
- Salt & pepper (season as you go!)
The Wrapper Situation:
- 8 spring roll sheets (store-bought saves time, but homemade tastes amazing)
- 1 tbsp maida + water (this edible glue saves lives)
Making Vegetable Spring Rolls Like a Street Food Pro
Step 1: Filling Prep (Don’t Rush This!)
Heat oil → sauté onions for 30 sec → add veggies → high heat stir-fry for 2 min max (we want crunch!). Add sauces → mix → taste (adjust!) → let it cool completely or you’ll get soggy wrappers. (Learned this the hard way!)
Step 2: Wrapper Tricks
If using store-bought: keep covered with damp cloth so they don’t dry out. Homemade? Make a thin batter → spread on hot pan → don’t flip → just cook one side. They’ll look ugly at first – that’s normal!
Step 3: Rolling Like a Boss
Place wrapper like a diamond → add filling near bottom corner → fold sides in → roll tightly but gently → seal edge with maida paste. Pro move: If a tear happens, patch it with extra wrapper – no one will know!
Step 4: The Crispy Finale
Medium heat oil (test with bread crumb – if it sizzles, it’s ready). Fry 3-4 at a time → turn occasionally → drain on rack (not paper towels = crispier!). First batch always burns a little – consider it chef’s tax!

Healthier Twists for Vegetable Spring Rolls
- Air fryer version: Brush with oil → 180°C for 12 mins (flip halfway)
- Baked: 200°C for 20 mins (spray oil makes them crispier)
- Extra protein: Add scrambled tofu or mashed chickpeas
Serving Your Vegetable Spring Rolls Like You Mean It
Pair with:
- Sweet chili sauce + crushed peanuts
- Mint yogurt dip for cooling contrast
- Iced lemon tea (cuts through the richness perfectly)
Oops-Proof Tips (From My Many Mistakes!)
- Filling too wet? Squeeze out excess liquid with clean cloth
- Wrappers cracking? Dampen slightly with wet fingers
- Oil temperature wrong? Use wooden chopstick – bubbles mean it’s ready
FAQs (Things I Googled at 2AM)
Can I prep vegetable spring rolls ahead?
Yes! Assemble (don’t fry), freeze flat on tray → transfer to bag later. Fry frozen – just add 1 extra minute!
Why did my rolls burst open?
Usually: 1) Overfilled 2) Not sealed properly 3) Oil too hot. Happens to everyone – still tastes great!
Final Crunchy Thoughts
The beauty of vegetable spring rolls? Even the “failed” ones taste good! My college roommate and I once ate a whole batch that unrolled in the oil – just called it “deconstructed spring roll salad” and devoured it with chopsticks. 😂
Try this recipe, make it yours (add ginger! skip onions! go wild!), and tag your creations @khanakhzana2025. For more kitchen adventures, visit KhanaKhazana.com – where we celebrate delicious mistakes!
P.S. If your first batch isn’t perfect, welcome to the club! Mine looked like abstract art for months. 😉

